Tutorial: build a retail intake form
In this tutorial you build a complete privacy request intake form for a retailer in the Form Builder, from an empty canvas to a request submitted through the Privacy Center. Along the way you use identity fields, a dropdown, a conditional textarea, a location picker, and a file upload, and you see the JSON the builder writes so you can connect it to the Configuration reference.
What you'll build
An access request form for Acme Retail with six fields:
| Field | Type | Required | Notes |
|---|---|---|---|
| Identity | Yes | Added for you when the form is created. | |
| Phone | Identity | No | |
| Request reason | Select | No | Account closure, Data correction, Other |
| State of residence | Location | No | |
| Tell us more | Textarea | No | Shown only when Request reason is Other |
| Supporting document | File upload | No | Accepts pdf, jpg, png |
Before you start
- A property with a privacy request action. Open Properties, select or create a property, add a path such as
/acme, fill in the Privacy center title and description, add an action for your access policy, and save. The Edit form button appears once the property is saved. - Custom fields enabled in your deployment. See Enable custom fields.
- For the file upload field, a storage destination and file uploads enabled. See Attachments. Skip step 6 if you don't need uploads yet.
Step 1: open the builder
- Go to Properties and open your property.
- In the Privacy center section, find the access action and click Edit form.
The builder opens with a required Email field already on the canvas and selected, so the properties panel on the right is populated. The AI assistant sits on the left. You can describe the whole form to the assistant instead of following the steps below, and then use the same steps to review what it produced.
Step 2: add the identity fields
Email is already present and required. Add the optional phone number:
- Click + Add field and choose Phone.
- Leave Required off.
Identity fields have only the Required setting. Their labels and names are fixed because they map straight onto the privacy request's identity inputs.
Step 3: add the Request reason dropdown
- Click + Add field and choose Single-select dropdown.
- Set Label to
Request reason. The Name becomesrequest_reason. - Under Options, click + Add option three times and enter
Account closure,Data correction, andOther.
The name is what other fields use to reference this one, so keep it as is once you start building conditions on it.
Step 4: add the State of residence picker
- Click + Add field and choose Location picker.
- Set Label to
State of residence.
Leave IP geolocation hint off for this tutorial. When it is on, the Privacy Center pre-selects the data subject's location from their IP address.
Step 5: add a conditional Tell us more field
- Click + Add field and choose Textarea.
- Set Label to
Tell us moreand give it a Placeholder, for exampleTell us more. - Under Visibility, select Show when….
- Set the source field to Request reason, the operator to equals, and the value to Other.
Step 6: add the Supporting document upload
- Click + Add field and choose File upload.
- Set Label to
Supporting document. - Under Allowed file types, enter
pdf,jpg, andpng. - Leave Max file size at its default and Required off.
Step 7: order and preview
Drag the handle on the left of each card so the fields run Email, Phone, Request reason, State of residence, Tell us more, Supporting document. The order on the canvas is the order data subjects see.
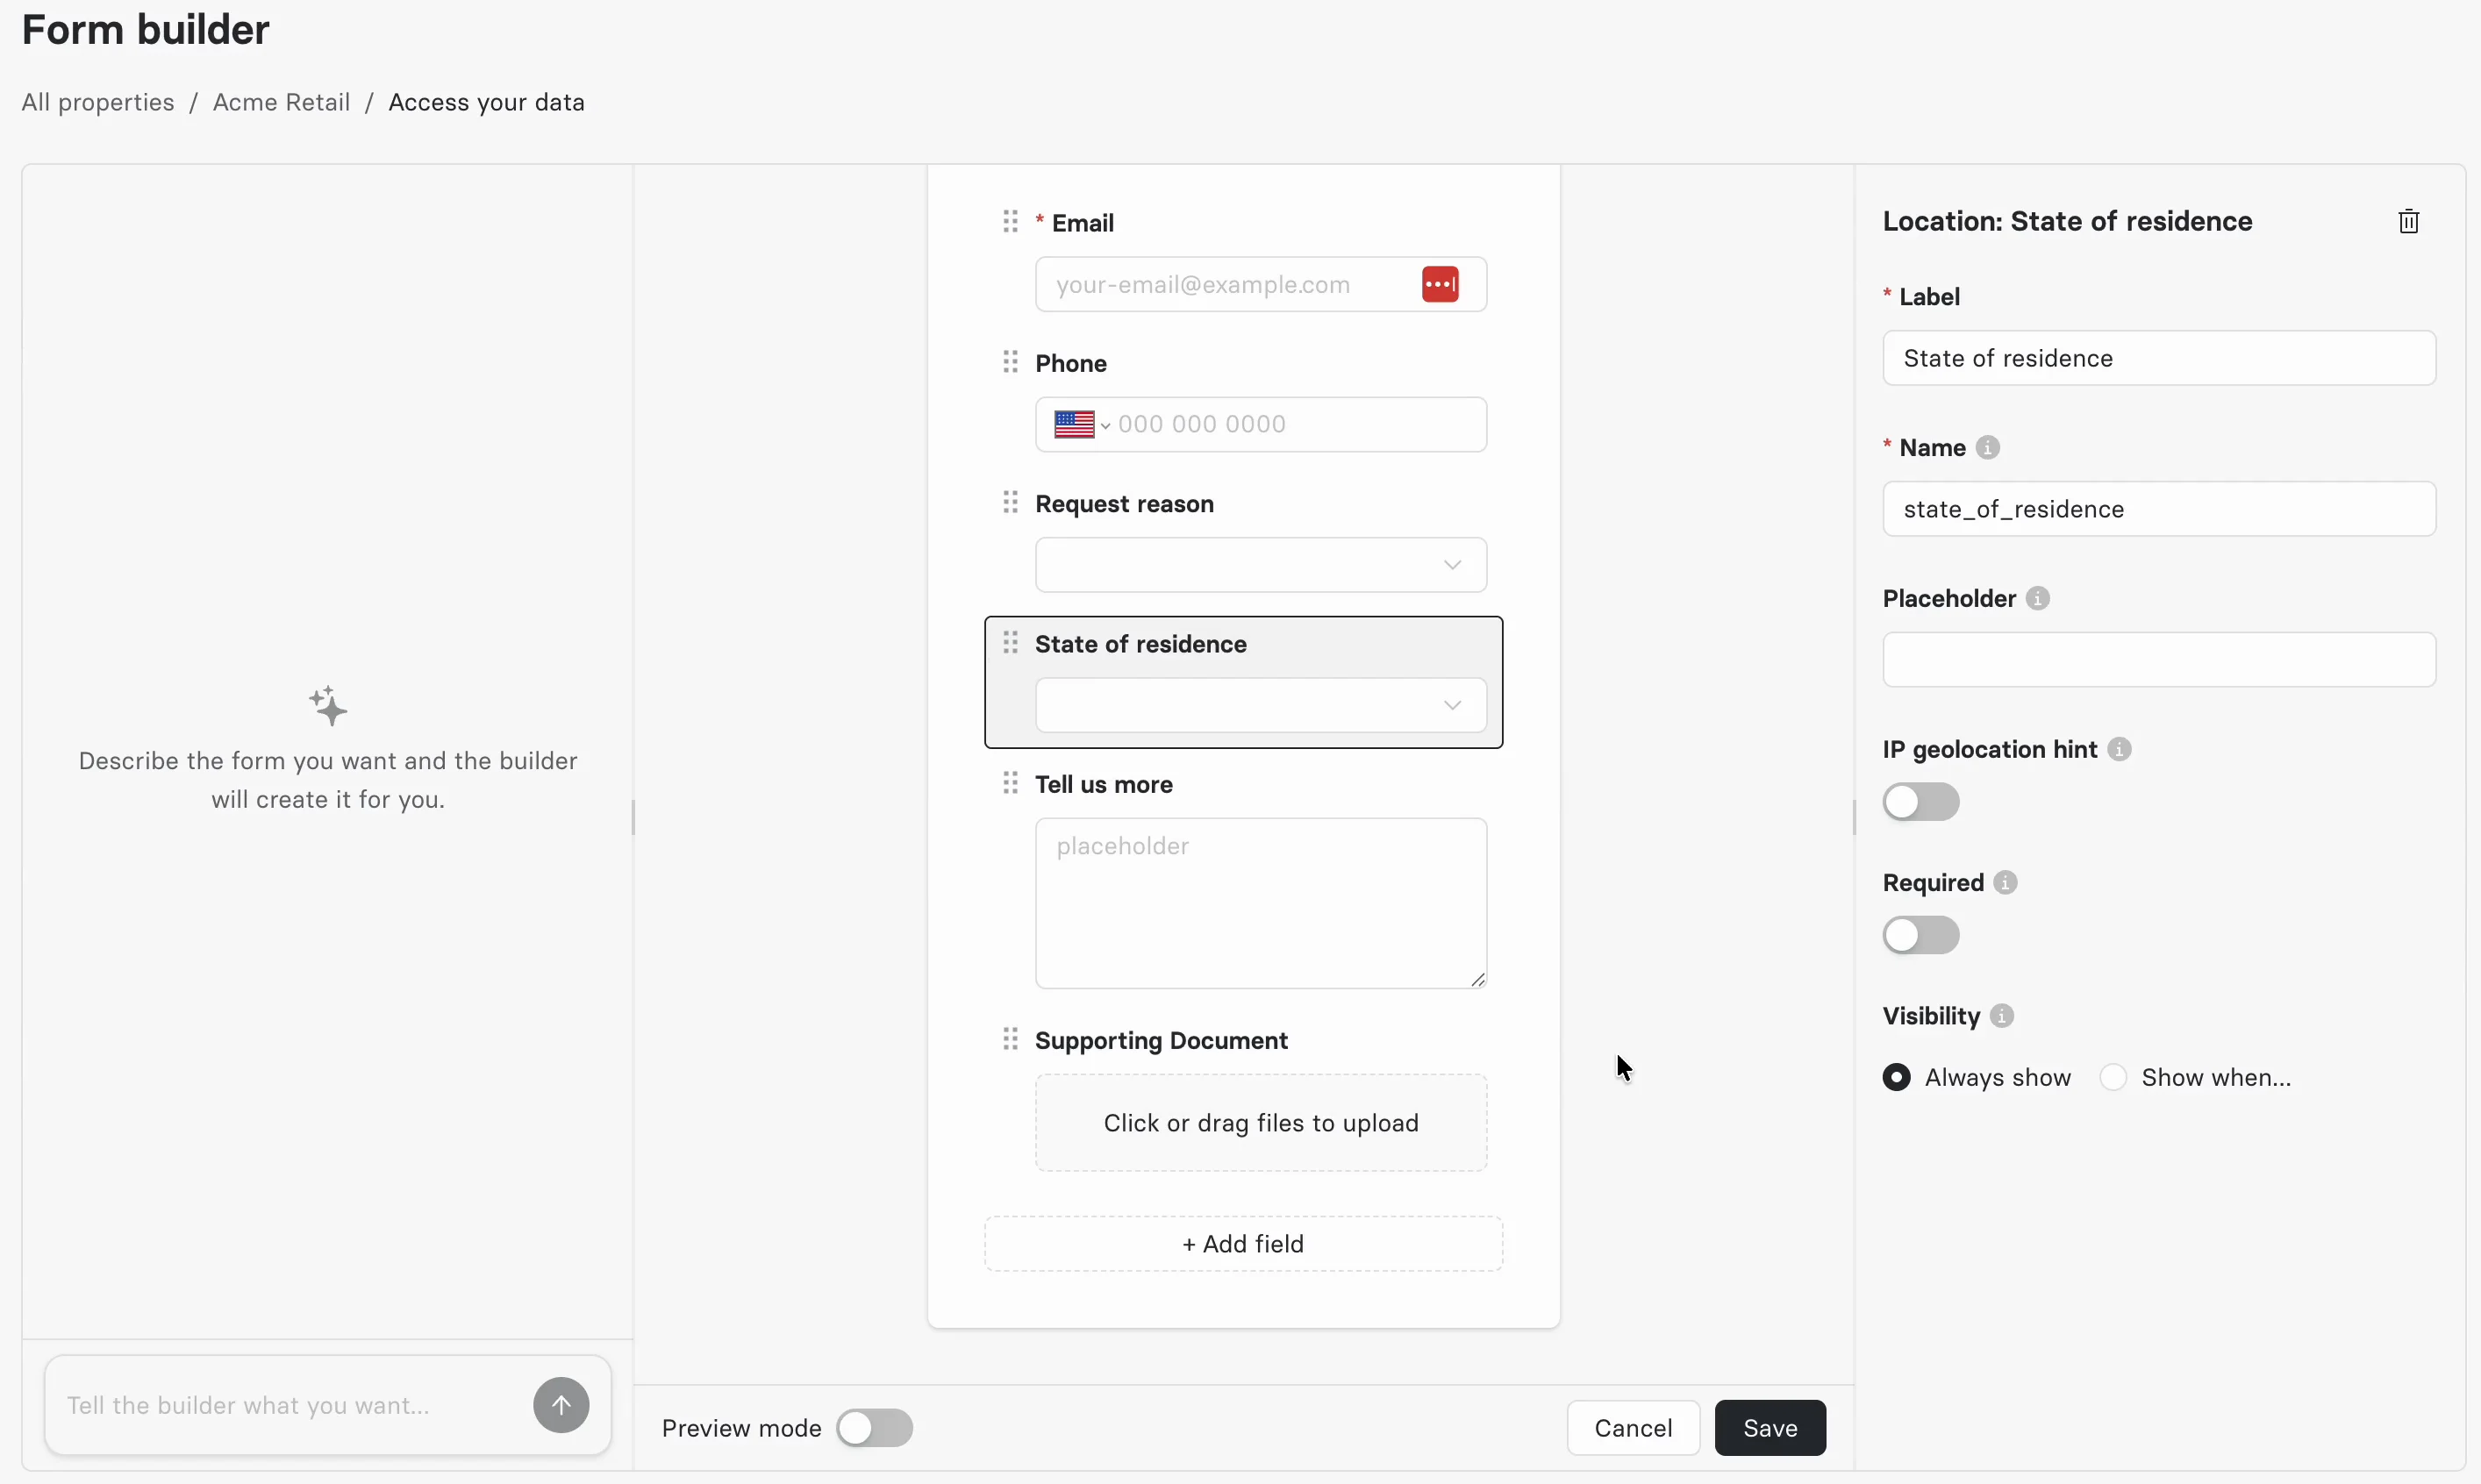
Turn on Preview mode at the bottom of the canvas. Tell us more disappears. Choose Other in Request reason and it comes back. Choose any other option and it hides again. Turn Preview mode off when you're done.
Step 8: save
Click Save. The builder checks that every field name is unique and that at least one identity field is required, then writes the form to the property and shows a confirmation.
If you switched the conditional visibility on in step 5 and the Privacy Center later shows Tell us more regardless of the reason, add the rule directly to the field's JSON as a display_condition, following Conditional Display and Validation. The JSON in the next section shows the exact rule for this form.
Step 9: see it live
Open the Privacy Center for the property. When the property has a path, the URL is your Privacy Center address followed by that path, for example https://privacy.example.com/acme. Click the access request card.
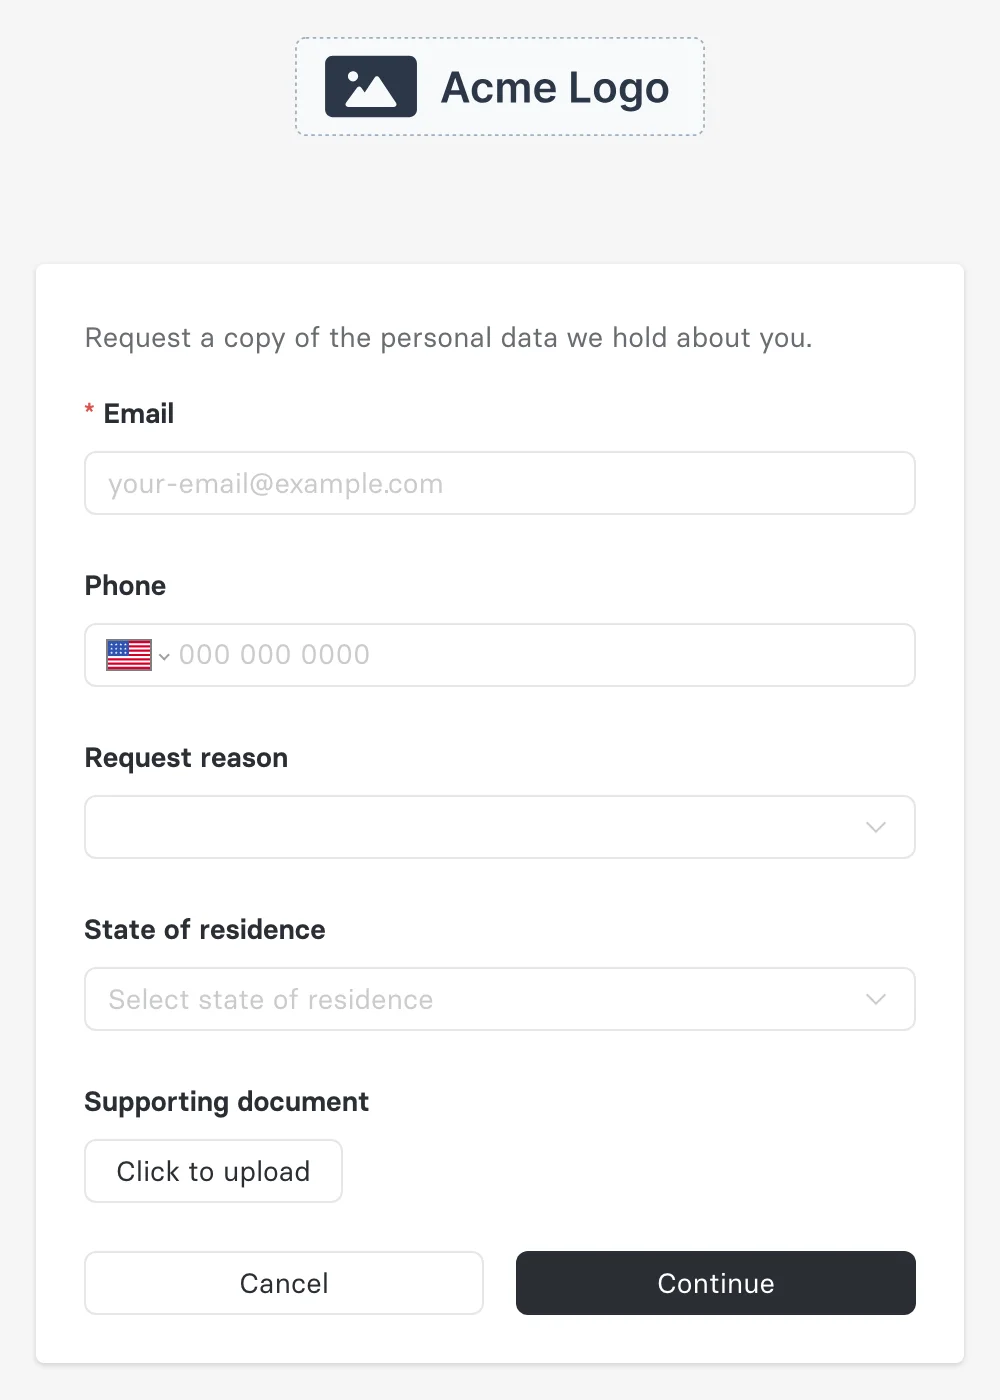
Choose Other under Request reason and Tell us more appears between State of residence and Supporting document. Fill the form in, attach a small PDF to Supporting document, and click Continue. After identity verification, if your policy requires it, the request is created.
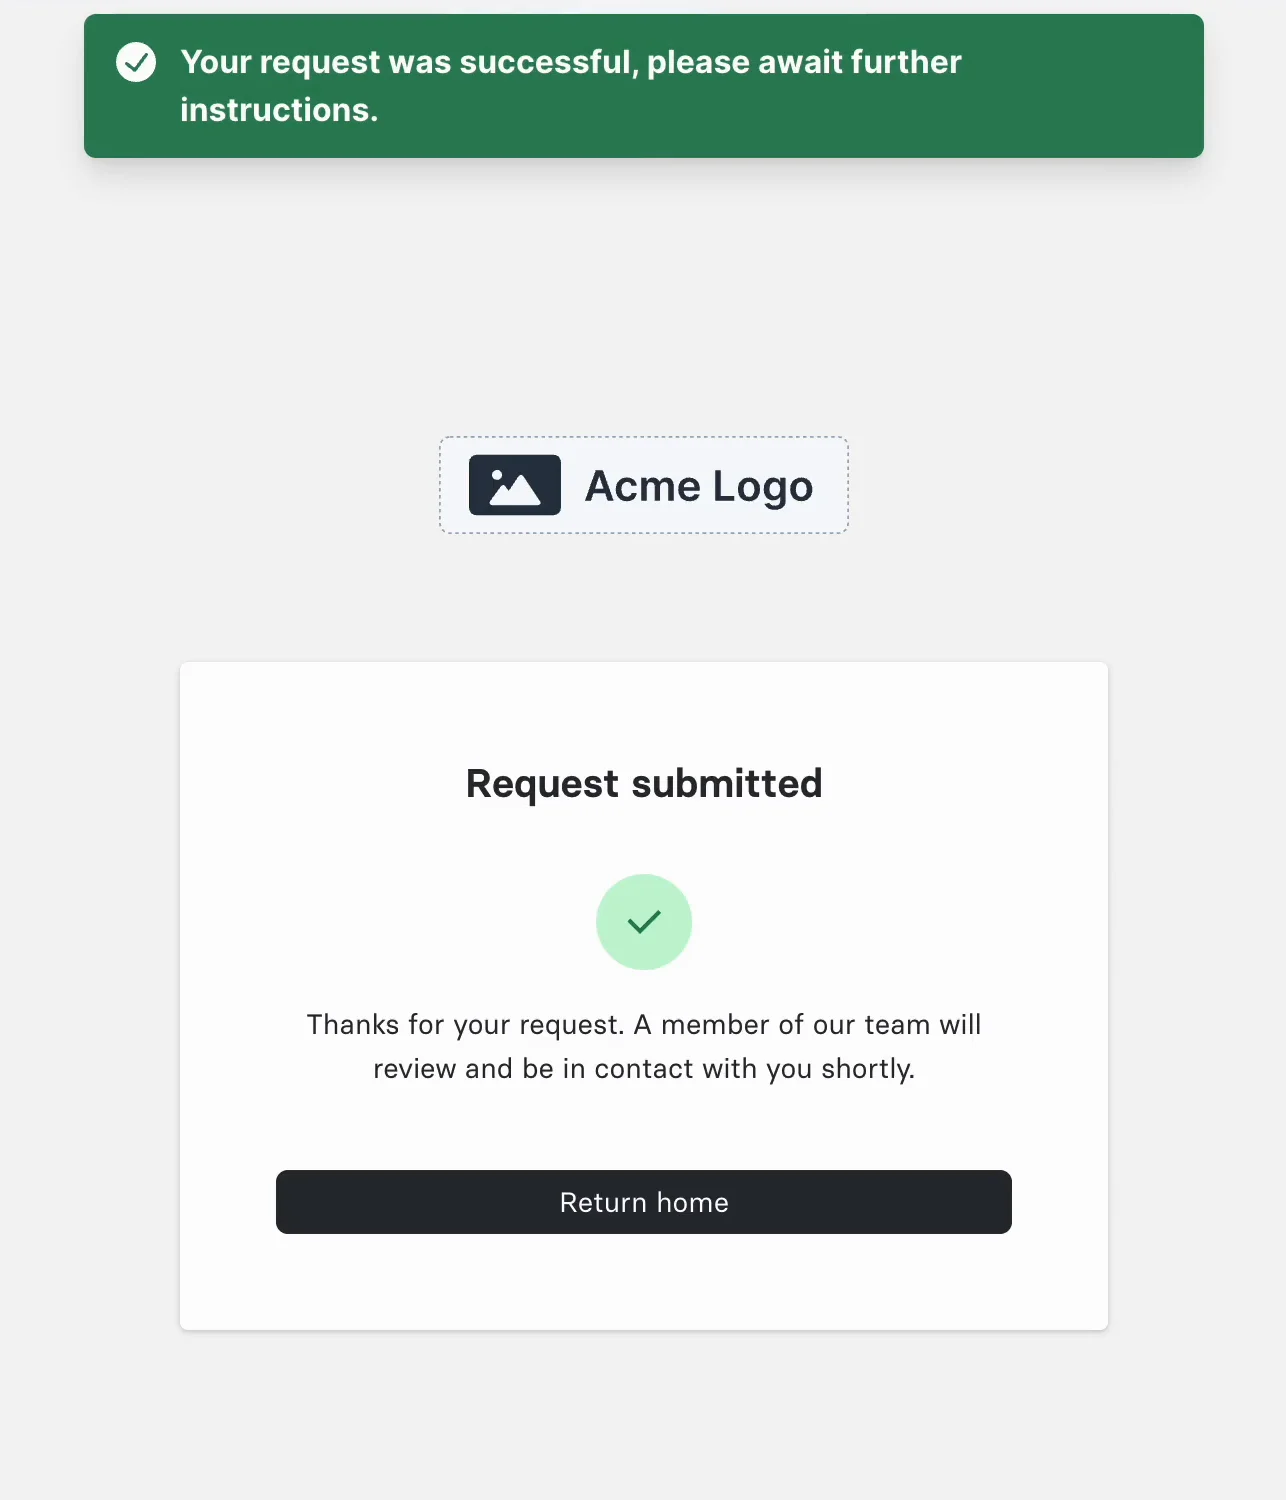
The values the data subject entered appear on the request in the Admin UI under Privacy requests, alongside the identity, and the uploaded file is listed as an attachment. See Reviewing custom field information.
What the builder saved
The builder stores the form on the property's Privacy Center configuration, under the action you edited. Three keys carry it. identity_inputs records which identity fields are collected and whether each is required, field_order records the display order across identity and custom fields, and custom_privacy_request_fields holds one entry per custom field keyed by its name.
"identity_inputs": {
  "email": "required",
  "phone": "optional"
},
"field_order": [
  "email",
  "phone",
  "request_reason",
  "state_of_residence",
  "tell_us_more",
  "supporting_document"
],
"custom_privacy_request_fields": {
  "request_reason": {
    "label": "Request reason",
    "required": false,
    "field_type": "select",
    "options": ["Account closure", "Data correction", "Other"]
  },
  "state_of_residence": {
    "label": "State of residence",
    "required": false,
    "field_type": "location",
    "ip_geolocation_hint": false
  },
  "tell_us_more": {
    "label": "Tell us more",
    "required": false,
    "field_type": "textarea",
    "display_condition": {
      "field_address": "request_reason",
      "operator": "eq",
      "value": "Other"
    }
  },
  "supporting_document": {
    "label": "Supporting document",
    "required": false,
    "field_type": "file",
    "max_size_bytes": 10485760,
    "allowed_file_types": ["pdf", "jpg", "png"]
  }
}
Every attribute here is described in Configuration, and display_condition in Conditional Display and Validation. You can move between the builder and JSON freely: the builder reads this structure back when you open Edit form again, and a form written by hand in JSON appears in the builder ready to edit.
Next steps
- Add a second action, for example an erasure request, and build its form. Each action has its own fields.
- Use the AI assistant to draft the next form from a one-sentence description, then refine it by hand.
- Control which file types and sizes you accept in Attachments.