Consent Management: Configuring the Consent Form Experience
In this tutorial, we'll configure the Consent Form privacy experience, which lets a US-state visitor opt out of the sale or sharing of their personal information without identity verification.
Prerequisites
For this tutorial you'll need:
- A Fides Cloud or Fides Enterprise account.
- The role of
OwnerorContributorfor your Fides organization. - At least one privacy notice configured. Read how to configure privacy notices now.
- A Property whose Privacy Center form has an Identity Opt-Out action configured. The Consent Form's identity input fields are sourced from this action, not from the experience editor.
What is the Consent Form experience?
The Consent Form is a privacy experience designed for US-state opt-outs of data sales and sharing where you do not want to force visitors through identity verification. It implements a two-tier opt-out model:
- Immediate opt-out (no identity needed). The visitor clicks the opt-out button without entering any contactable identifier. This records the opt-out immediately, scoped to their device. No Privacy Request is created.
- Optional full opt-out with identity. If the visitor also provides identity details, that identity rides along on the same submission, and Fides creates a Privacy Request so the opt-out can be propagated to your downstream systems. Identity verification (OTP) is bypassed for this flow.
For a deeper explanation of the two-tier model and how it differs from the standard opt-out flow, see the Consent Form concept page and Methods of Consent.
Creating a Consent Form experience
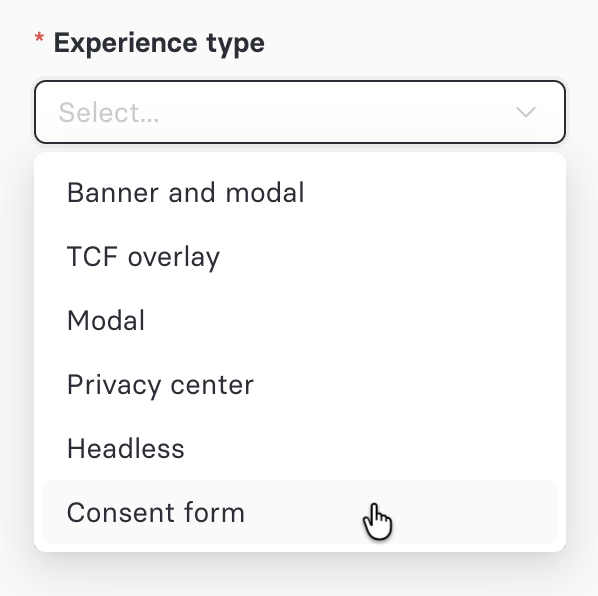
To create the experience, navigate to Consent → Experiences and choose to create a new privacy experience. In the Experience type dropdown, select Consent form.
Associating a Property
A Consent Form experience must be tied to a Property. The Consent Form's identity input fields are not configured in the experience editor; they come from the Property's Privacy Center form Identity Opt-Out action.
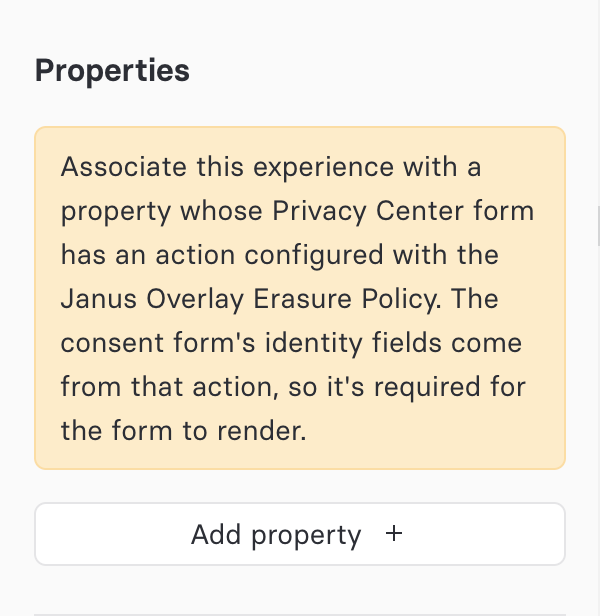
When a Consent Form experience has no associated property, the editor displays an advisory warning:
Associate this experience with a property whose Privacy Center form has an action configured with the Janus Overlay Erasure Policy. The consent form's identity fields come from that action, so it's required for the form to render.
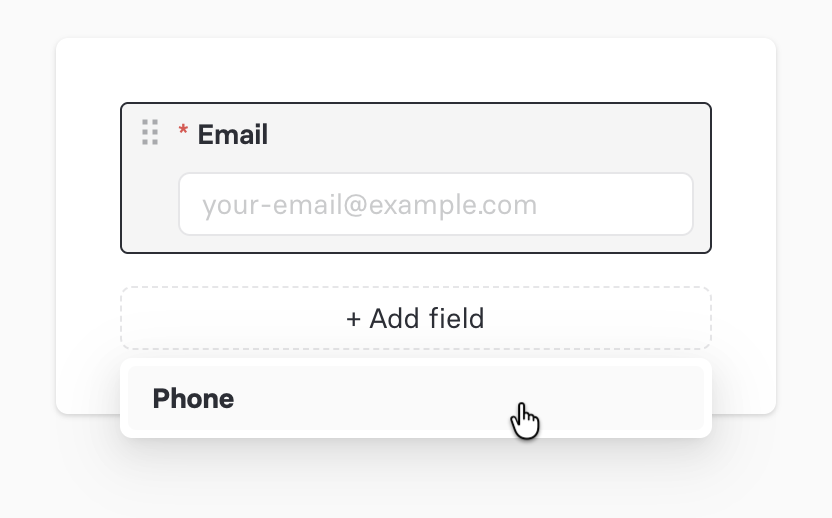
Configuring identity fields in the Form Builder
The Consent Form's identity inputs come from the Identity Opt-Out action on the associated Property's Privacy Center form, configured in the Privacy Center Form Builder (not the experience editor). The Form Builder supports several identity field types; the Consent Form renders the ones configured for that action.
Configuring the Consent Form text and translations
Like other experiences, the Consent Form lets you provide custom copy for every piece of text shown to the visitor, and translated copy for each supported language. The Consent Form has its own field set, distinct from the Banner+Modal and Modal experiences.
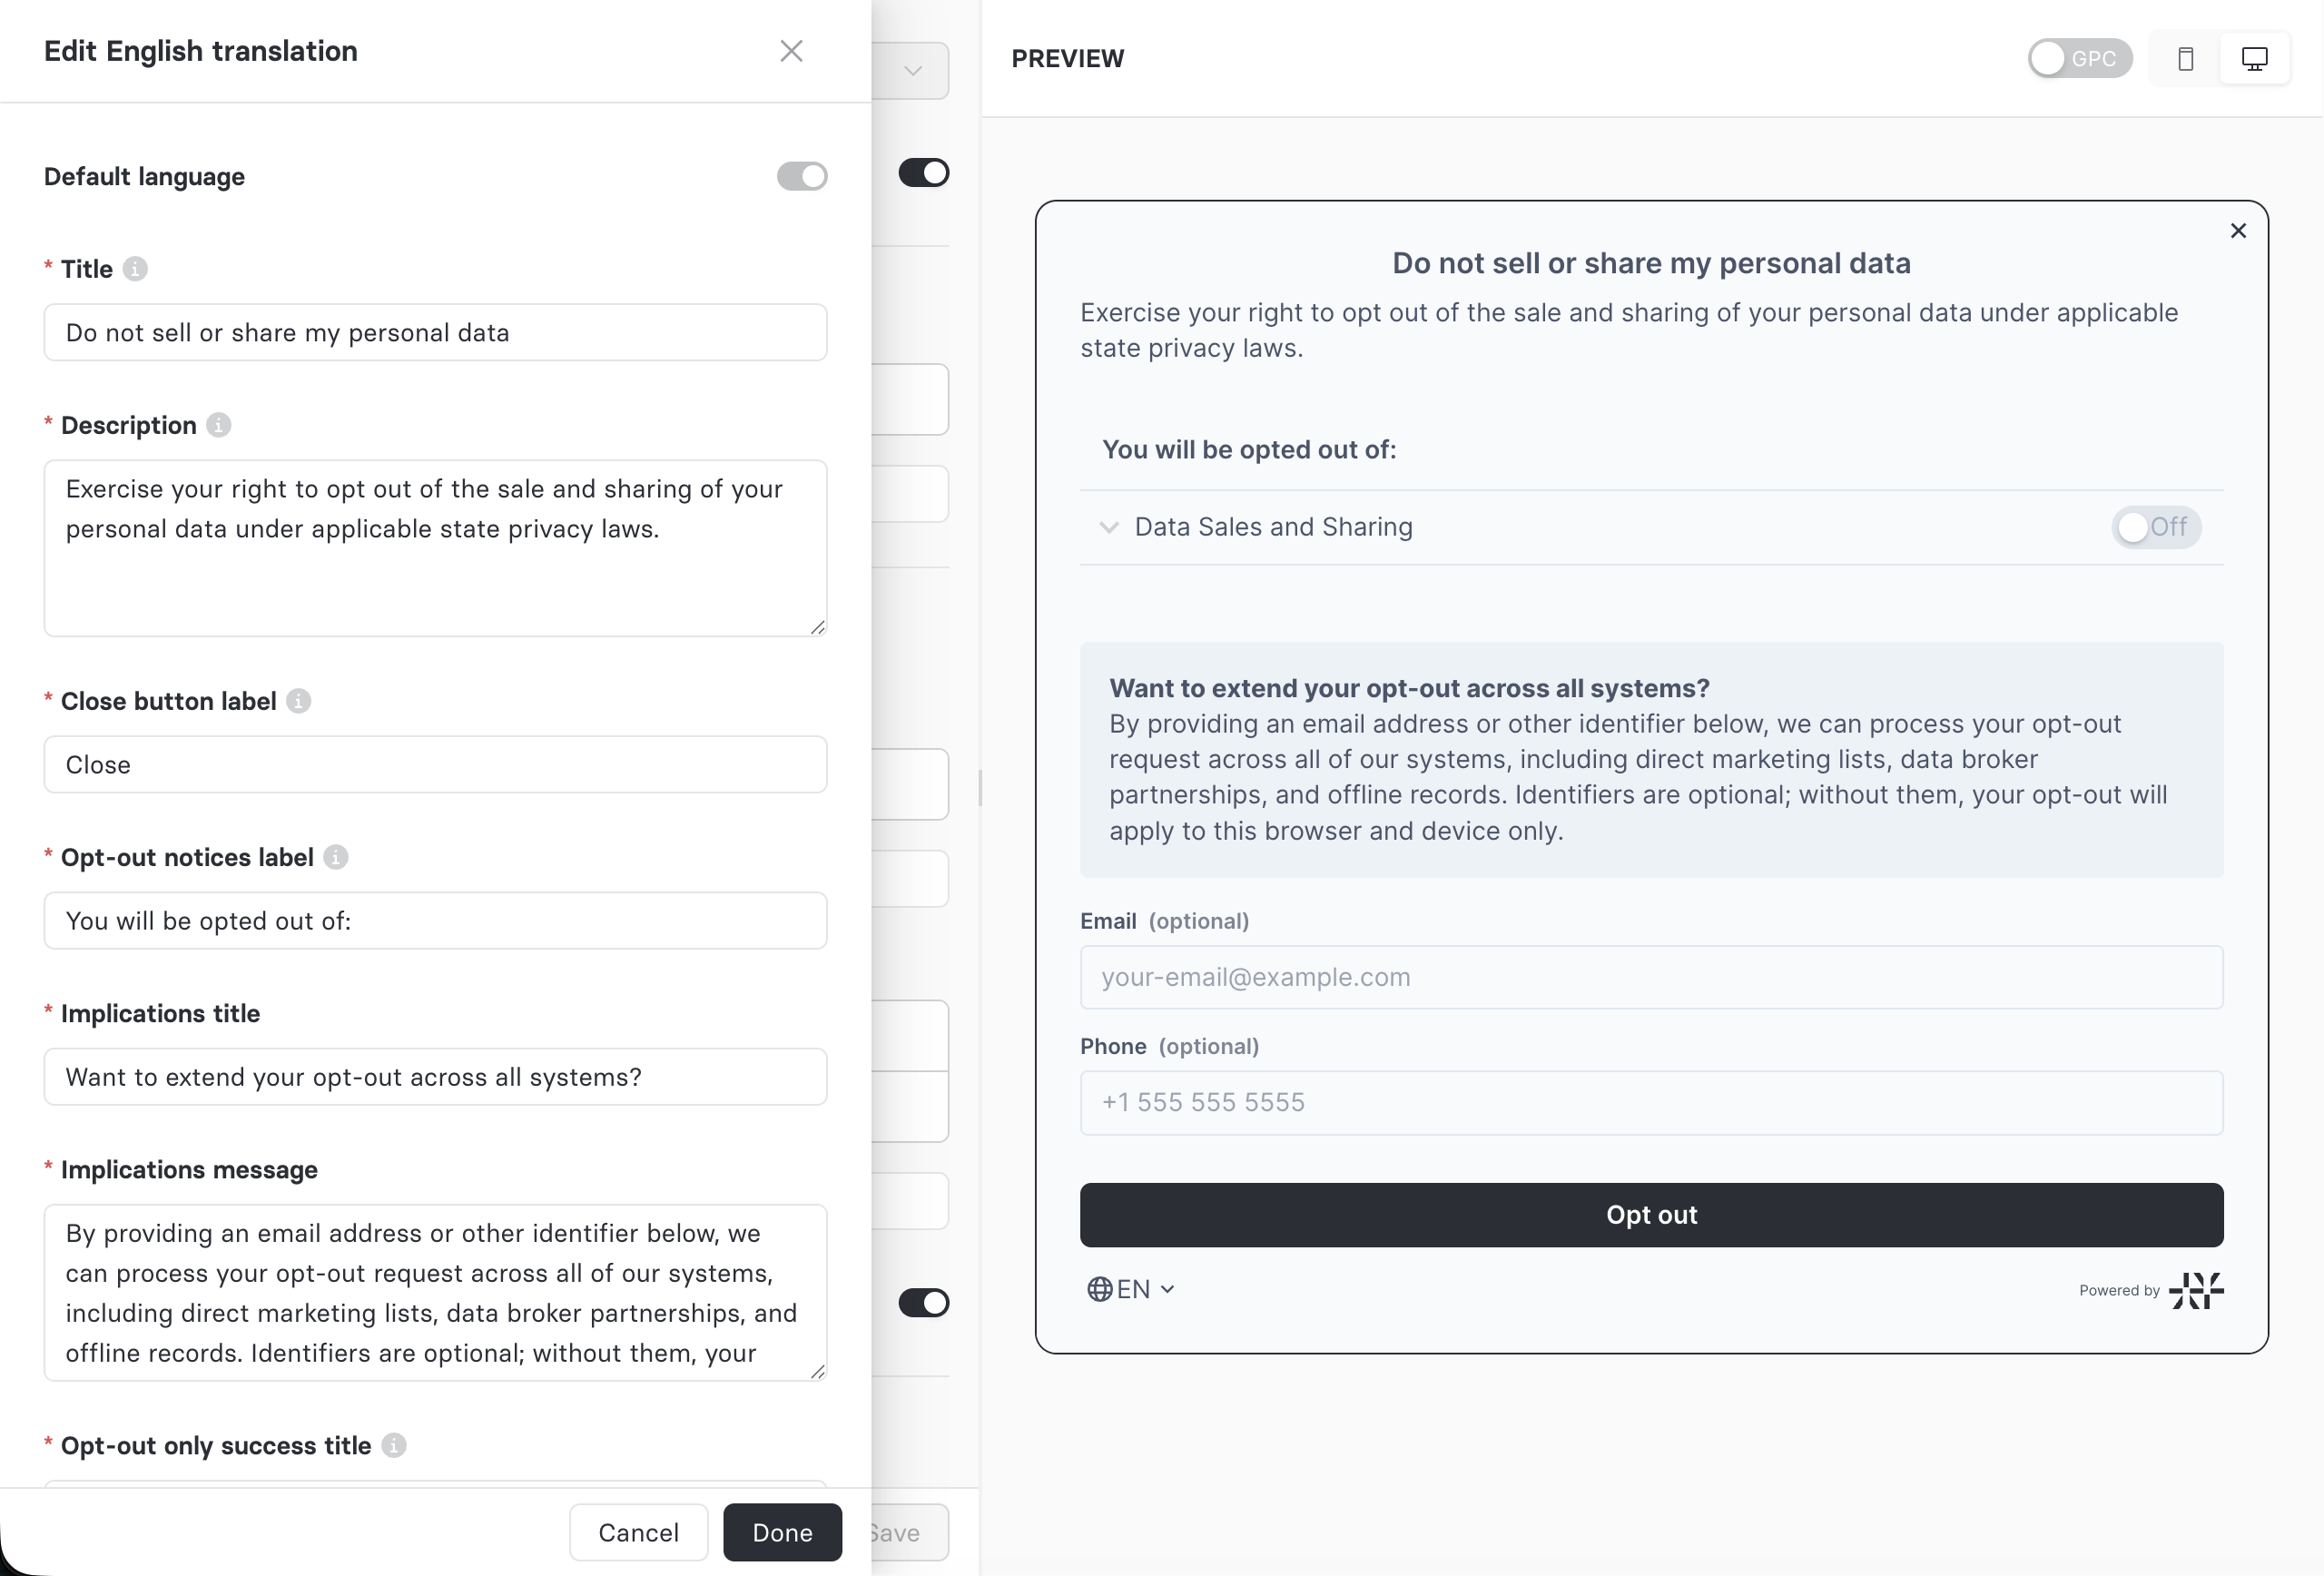
The visitor experience
The Consent Form is rendered to the visitor as a modal with two screens that swap in place:
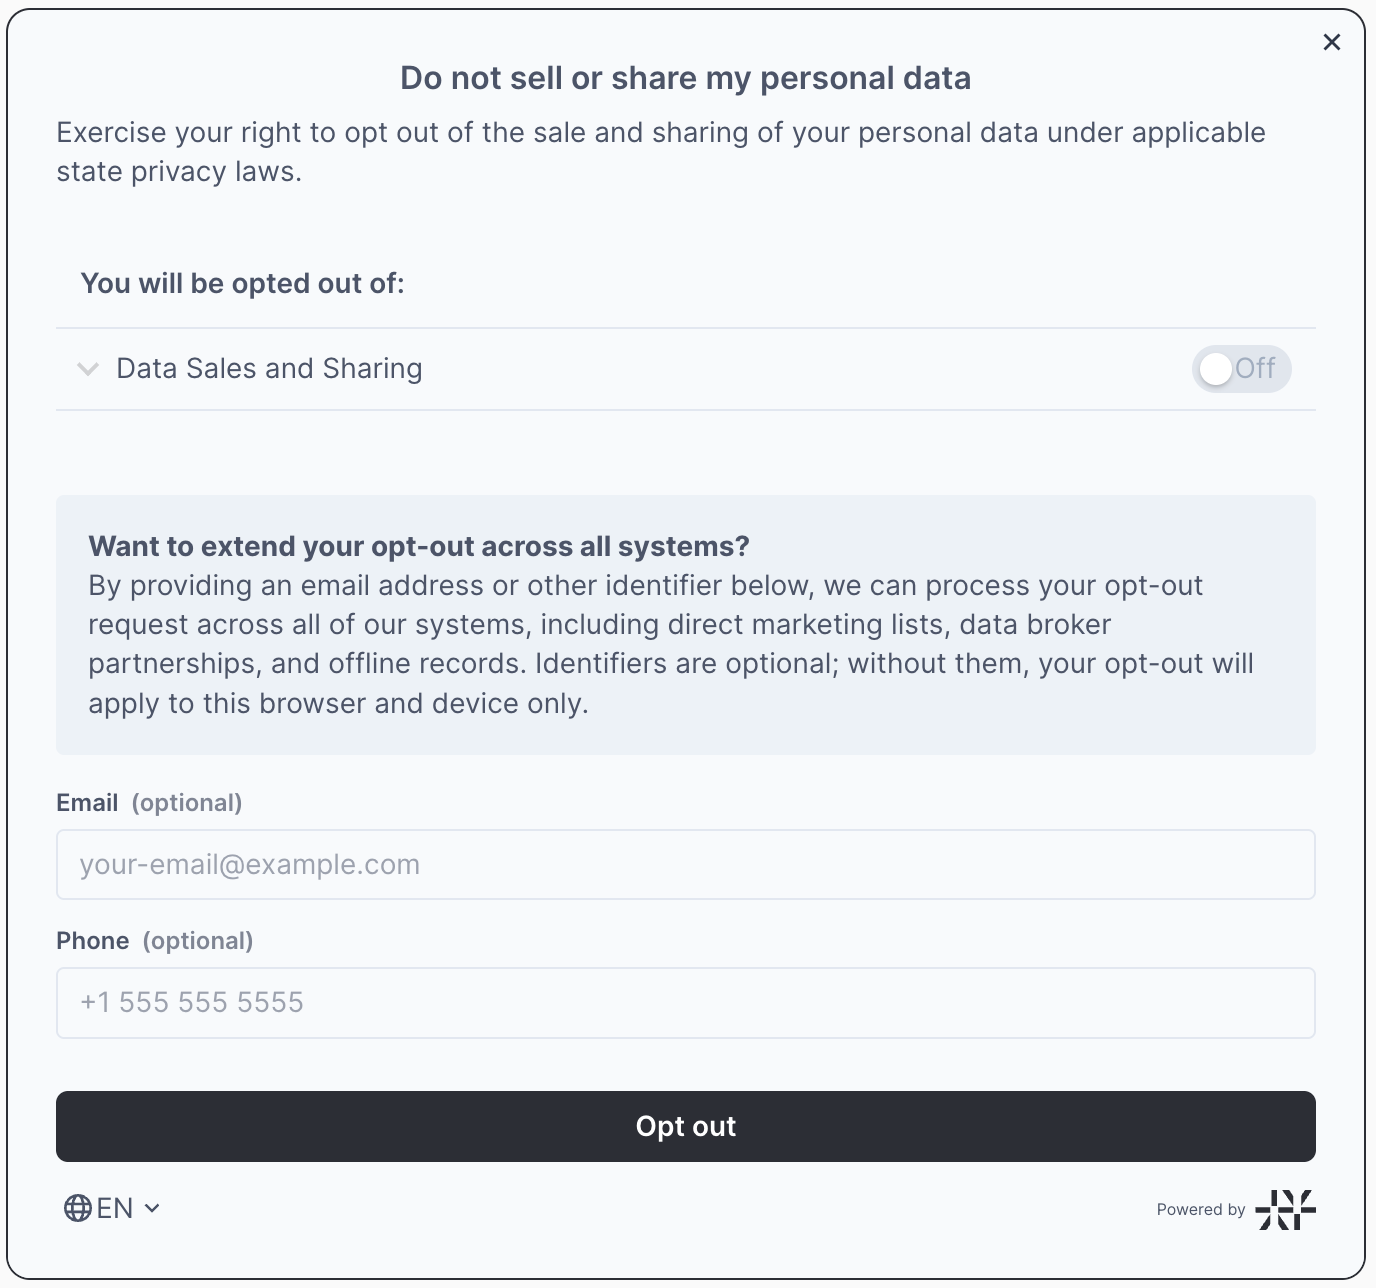
Form screen. This screen shows:
- A read-only list of the privacy notices the visitor is opting out of. The toggles are disabled and shown for transparency only; the Consent Form is a blanket opt-out, not a per-notice picker. Notice-only notices are excluded from this list.
- An implications InfoBox (when implications copy is configured) explaining the immediate opt-out versus the optional full opt-out.
- The identity input fields configured on the associated Property, each marked required or optional. Leaving every field empty is always valid and performs the immediate opt-out; a field marked required is only enforced once the visitor starts entering identity.
- The opt-out (reject) button that submits the form.
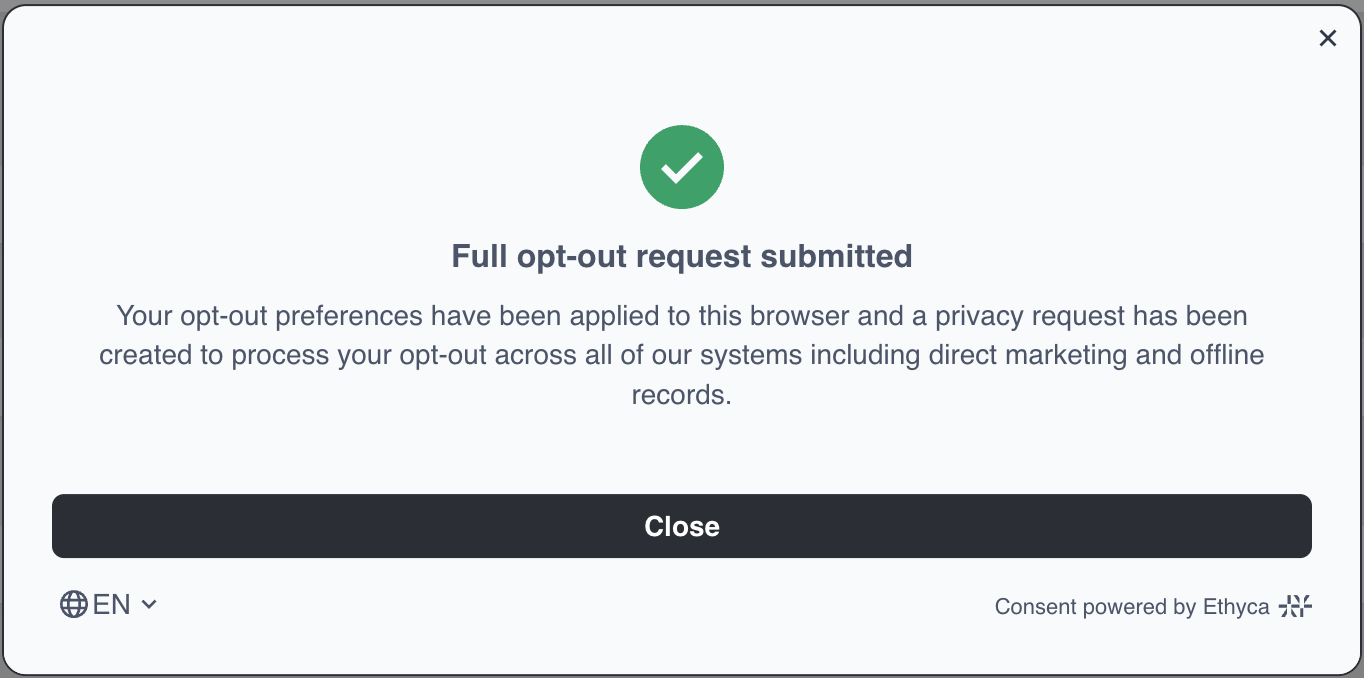
Success/confirmation screen. On a successful opt-out the modal does not close; it swaps the form for a confirmation screen with a checkmark icon and a Close button. The confirmation copy depends on whether the visitor provided identity:
- If no identity was provided, the Opt-out success copy is shown.
- If identity details were provided, the Identity opt-out success copy is shown. A Privacy Request will be created for this submission.
GPC prompt banner. When Global Privacy Control is active, the opt-out is applied automatically on page load. The Consent Form can then surface a separate bottom banner inviting the visitor to optionally open the form and provide identity for a full opt-out. The banner uses the GPC prompt copy you configured and has a single call-to-action button.
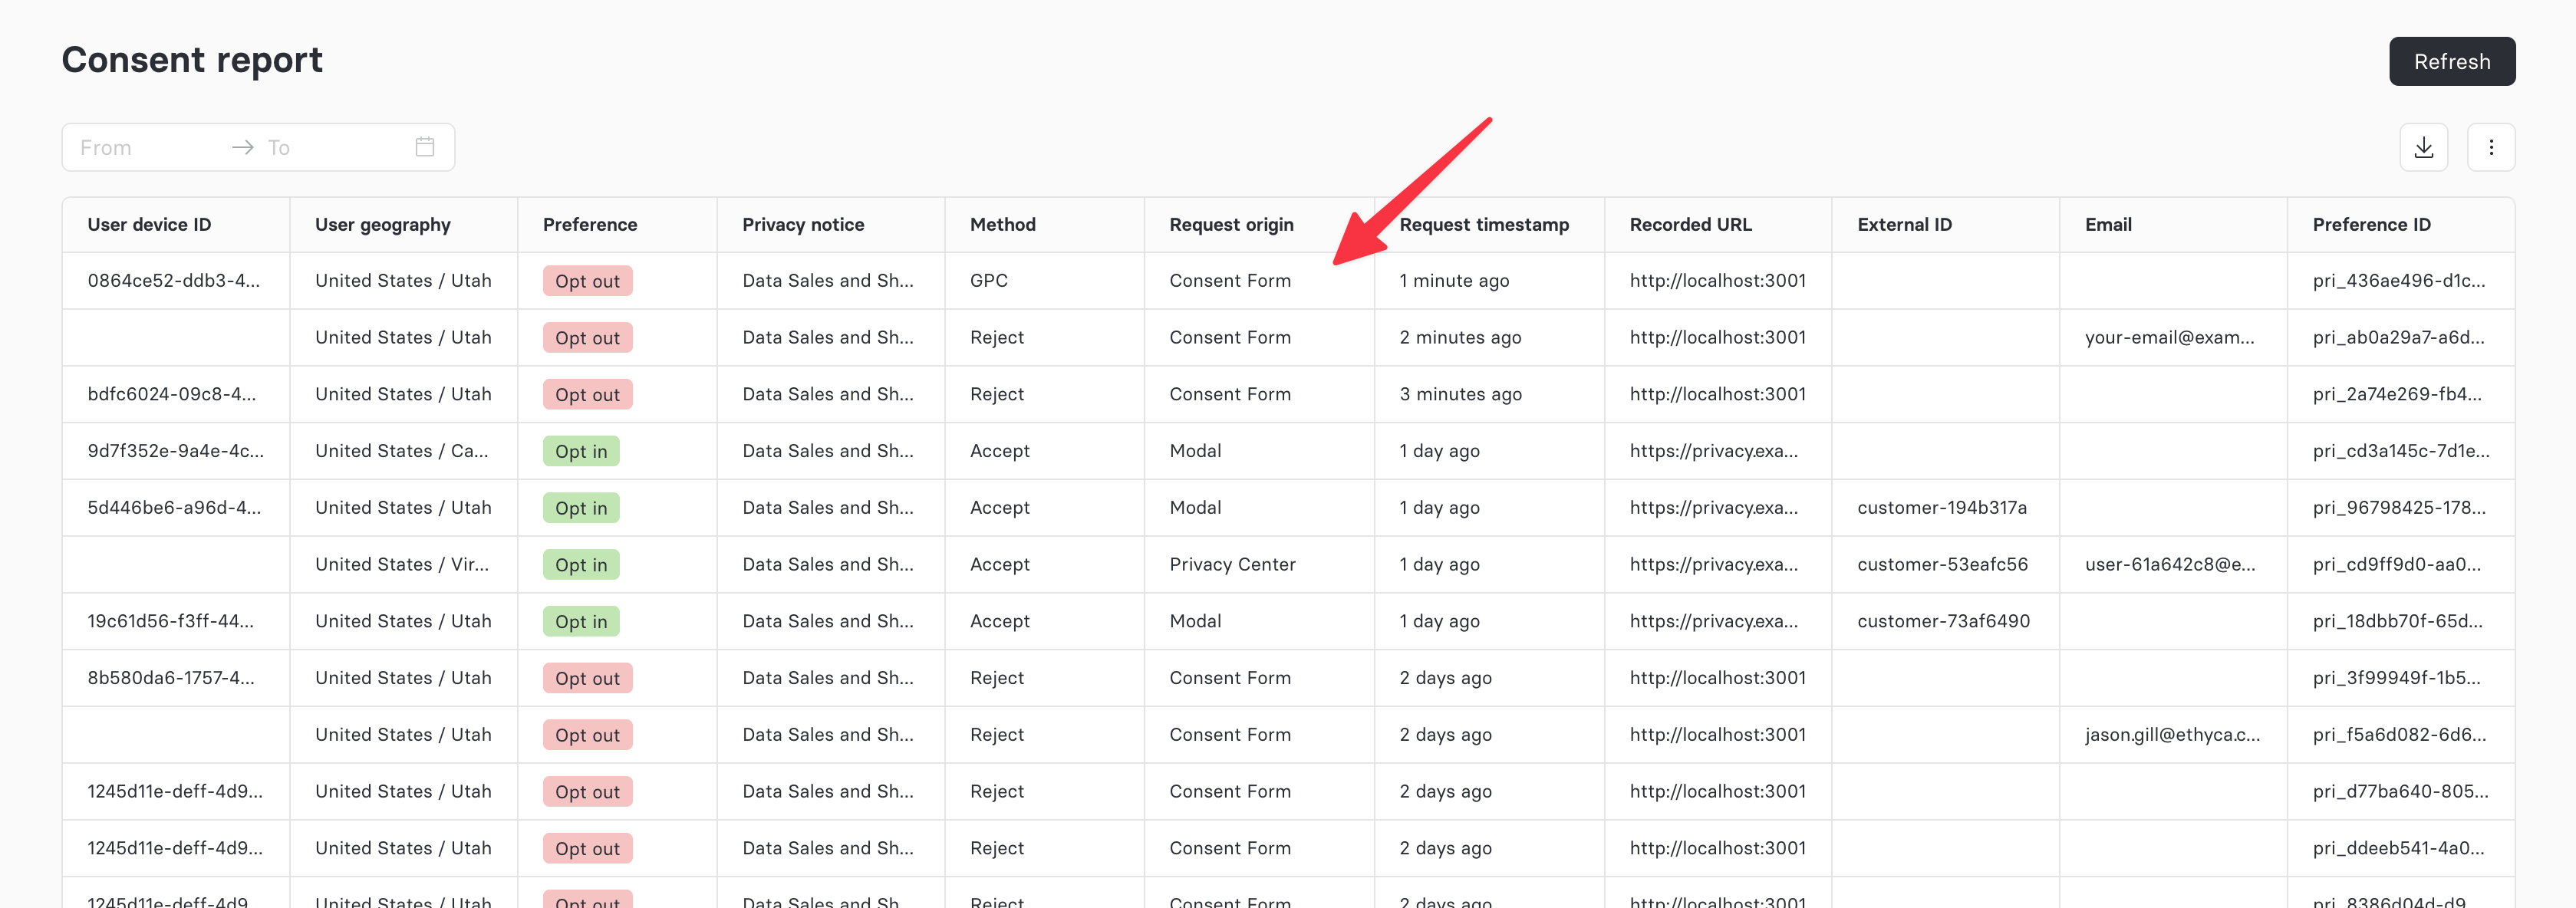
Where Consent Form opt-outs appear
Consent Form opt-outs are recorded in your consent records and surfaced in consent reporting. In the consent reporting table, the Request origin column labels these rows "Consent Form" so you can identify opt-outs that originated from this experience.
Next steps
- Understand the two-tier opt-out model in detail on the Consent Form concept page.
- Learn how Global Privacy Control is honored and prompted in the GPC guide.
- Review opt-in versus opt-out consent in Methods of Consent.
- See how Consent Form opt-outs are stored in Consent records.